
 русский
 Español
 عربى
Industry News

GET A QUOTE
Smart Lock Door Handing: Confirm Direction Before a Project Order
A project can contain doors that look identical on the room schedule but need different lock configurations. Hinges may sit on opposite sides, the door may open towards a different space, or an interior handle may conflict with a wall. Smart lock door handing should therefore be confirmed before the order is divided into quantities and cartons.
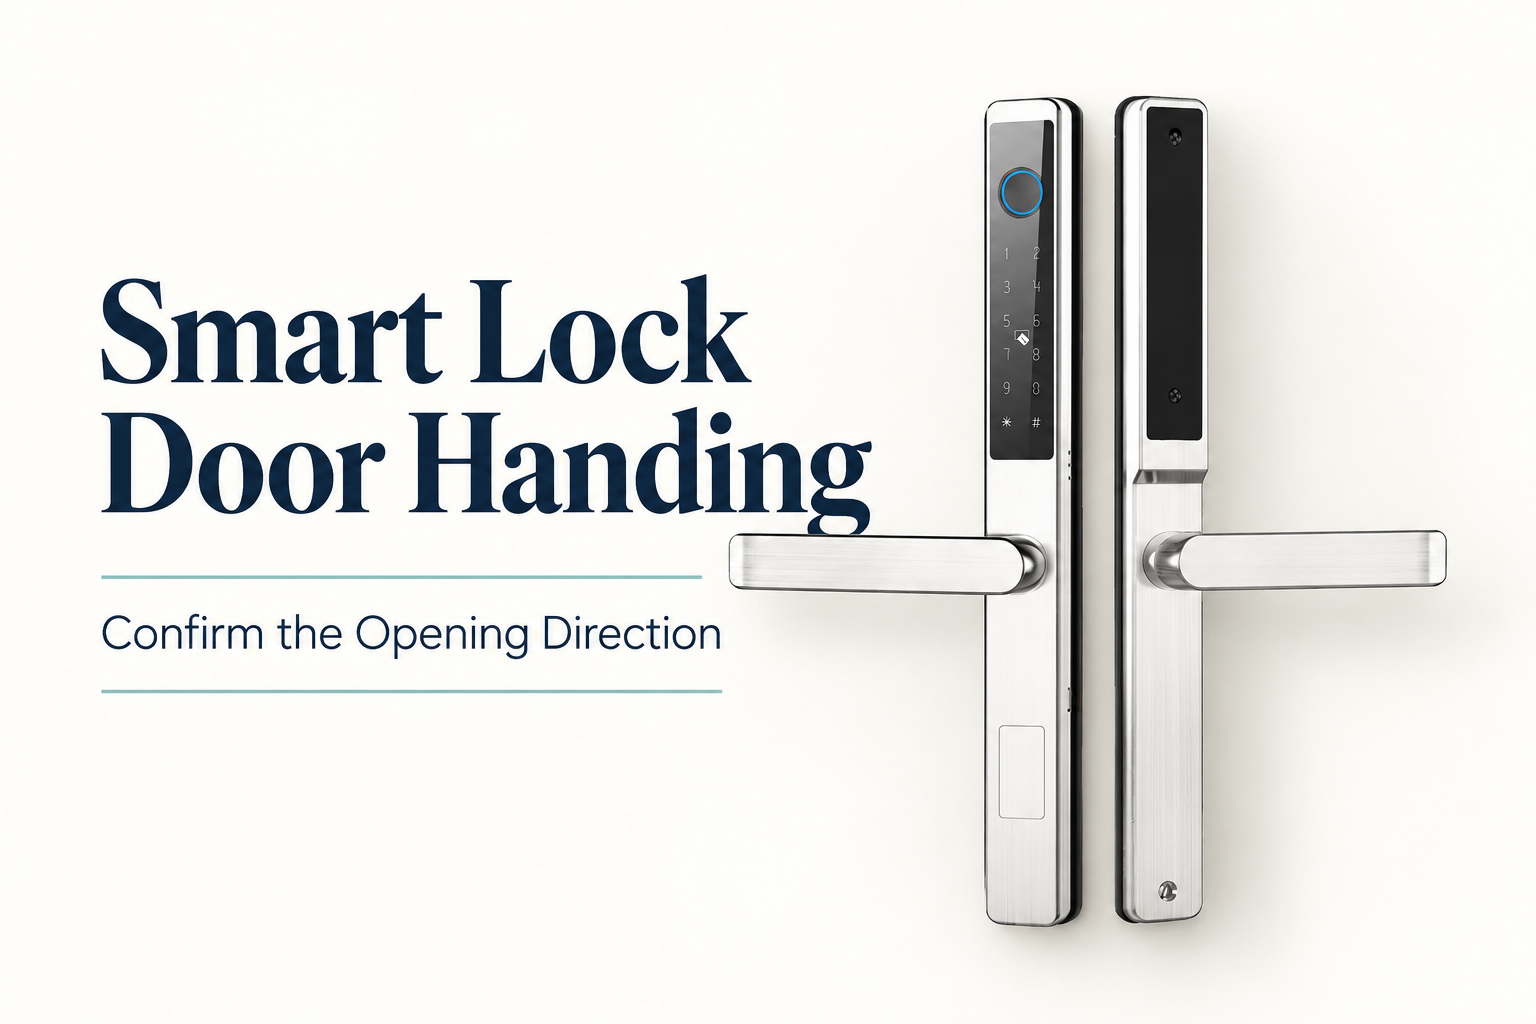
Descriptions such as left opening are easy to misunderstand when the viewer's position is not defined. A labelled drawing or photograph can remove much of that ambiguity. For distributors, installers and building contractors, the objective is to connect every ordered lock configuration with the door where it will be fitted.
Show the door from both sides
Start with two views of the doorway. Label the outside and inside according to the project's access arrangement, show the hinge side and add an arrow indicating the opening movement. Include the door number so the information can be traced back to the room schedule.
For profile door smart locks, also show adjacent glass, trim and any narrow clearances. Handing does not replace the usual dimensional review. A panel may fit on the face of the frame while the handle movement interferes with a nearby return wall or another item of hardware.
Ask the supplier to confirm the configuration against the drawing. Different naming conventions can be used for handing, so an unexplained abbreviation is a weak purchase reference. Keep the agreed terminology beside the labelled view rather than relying on a short code alone.
Check which parts can be reversed
Some products allow a handle or latch arrangement to be changed; others require a specific version or a different lock body. Confirm the permitted procedure for the exact model. Do not assume that a reversible handle makes every part of the assembly reversible.
Review the available installation guidance and ask which steps apply to the ordered configuration. The relevant questions include who may make the change, which parts are supplied and whether the procedure alters the assembly sequence. Keep that information available to the installation team.
Avoid using force or an improvised adjustment to make an unsuitable arrangement fit. If the supplied direction differs from the approved drawing, resolve the discrepancy with the supplier before modifying parts. Unrecorded changes can make later troubleshooting and replacement more difficult.
Review latch direction with the lock body
The visible lever is only one part of the review. Record the lock body reference, latch orientation and strike arrangement specified for the door. These details should be assessed with the door's opening path and frame construction.
Where an existing door is being refurbished, provide photographs of the lock edge and strike area. Old machining, fixing holes and the position of a rebate may restrict the available configuration. A photograph showing only the front panel cannot establish that the lock body will suit the existing preparation.
For a new door, keep the latest preparation drawing with the lock order. If the door manufacturer revises the machining, tell the lock supplier before the order is released. The benefit of a clear smart lock opening direction record is lost if the underlying door drawing is out of date.
Build a project door lock schedule
| Schedule field | What to record | Why it matters |
|---|---|---|
| Door identifier | Room or opening number | Connects hardware to its destination |
| Viewing reference | Labelled inside and outside views | Makes direction terminology unambiguous |
| Opening movement | Hinge side and swing arrow | Defines the installation arrangement |
| Lock configuration | Model, body reference and confirmed direction | Links the drawing to the ordered item |
| Site constraints | Wall, glass and adjacent hardware clearance | Highlights possible handle interference |
| Packing reference | Carton or kit label matched to the door group | Reduces mixing during distribution |
A project door lock schedule need not be elaborate. It must be readable by the person ordering, the person receiving and the installer. If one document uses room numbers and another uses building zones, include a mapping before the locks reach the site.
Validate one complete arrangement before repeating it
Use a representative door to review the proposed configuration. Check handle movement on both sides, latch engagement and the interaction between the lock and the finished frame. Carry out checks in accordance with the manufacturer's instructions and the project's acceptance procedure.
The installation sample should use the actual lock body and relevant door preparation. A loose panel sample can show finish and controls but cannot confirm the opening movement of the finished doorway. Record any changes needed before approving the quantity split.
Keep functional observations separate from certification claims. A successful installation review does not establish a fire rating, accessibility approval or suitability for an escape route. Where the project requires such evidence, the responsible designer should specify and verify it for the complete door arrangement.
Make receiving checks match the installation plan
Ask whether each unit, inner box or kit can be identified by its ordered configuration. If the supplier uses one common package for several variants, agree how receiving staff will distinguish the contents without mixing panels, bodies and accessories.
Compare a sample of deliveries with the approved schedule before distributing them to individual floors. Record discrepancies by model, quantity and configuration. This is easier to resolve while the stock remains grouped than after an installer has opened several similar cartons in different rooms.
Replacement planning should use the same identifiers. A future service order that says only black smart lock may omit the direction, body and accessory arrangement needed to restore the original doorway. Retain the configuration record with the building's maintenance information.
Send a complete direction confirmation request
- Provide labelled photographs or drawings from both sides of the door.
- Mark the hinge side, opening movement and room identifier.
- Identify the proposed lock model, body and finish.
- Ask which direction changes are permitted for that exact product.
- Confirm the agreed quantities for each configuration and how kits are labelled.
- Keep the approved sample and drawing revision with the order.
Handing confirmation turns an ambiguous direction label into a usable installation record. Share the door schedule with the supplier before requesting project quantities so that ordering, packing and site distribution all refer to the same arrangement.
Recommended Products

Ready to Begin?
Product Categories
Contact Information
 Email: [email protected]
 Phone: +86-13575699186
 Address: No.135, Wanyu Road, Zhiying Industrial Zone, Yongkang City, Zhejiang Province, China.
QR Code
Copyright © Yongkang Ruian Lock Industry Co, Ltd. All rights reserved.
