“Our door is forty millimetres thick” sounds like a complete answer during a lock enquiry. In practice, the installer still needs the correct spindle, fixing arrangement and panel fit for the actual assembly. Smart lock door thickness is a starting dimension, not a substitute for checking the complete installation kit.
This matters when a distributor orders one lock style for several door constructions. The visible front and rear panels may remain similar while the parts connecting them through the leaf need a different configuration. An installation problem can therefore appear even when the door thickness falls inside a broadly advertised range.
One door measurement does not define the kit
Measure and describe the finished door at the lock area. Include any relevant facing or reinforcement and explain unusual stepped or rebated construction. The supplier needs to know which surfaces the panels seat against and which parts of the assembly the stated thickness includes.
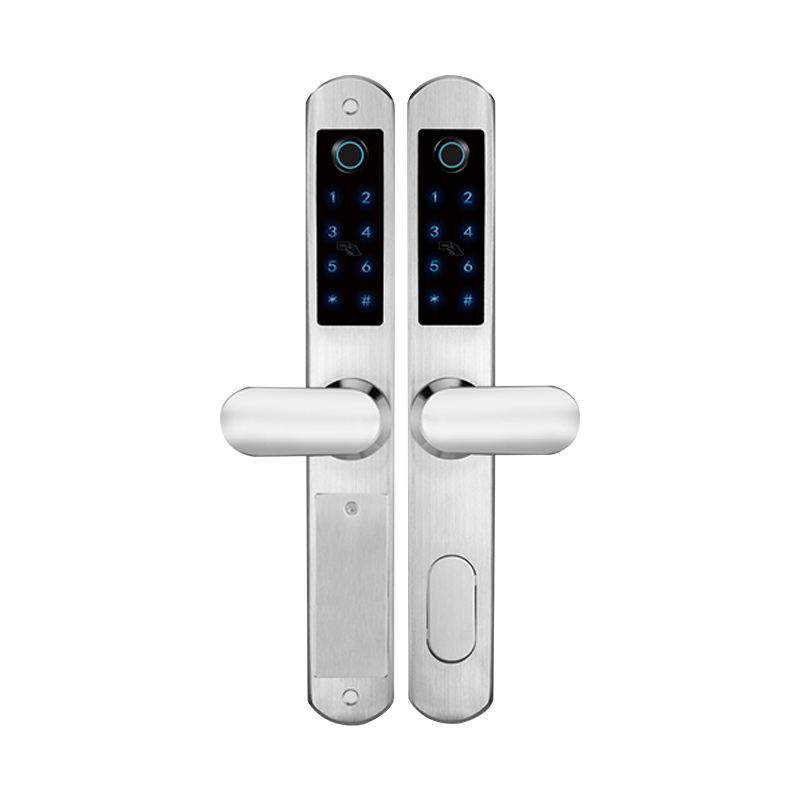
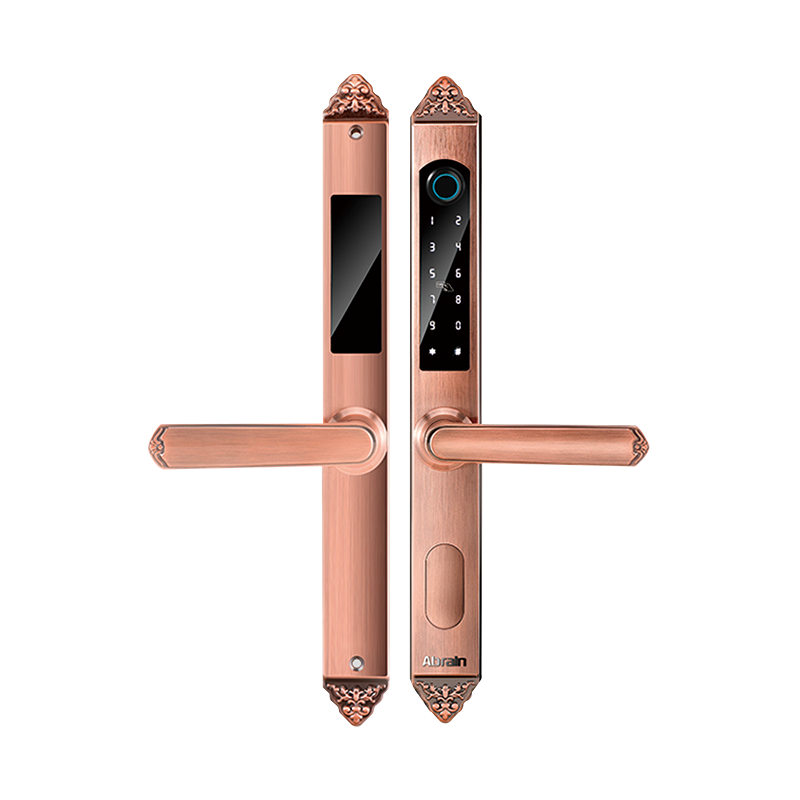
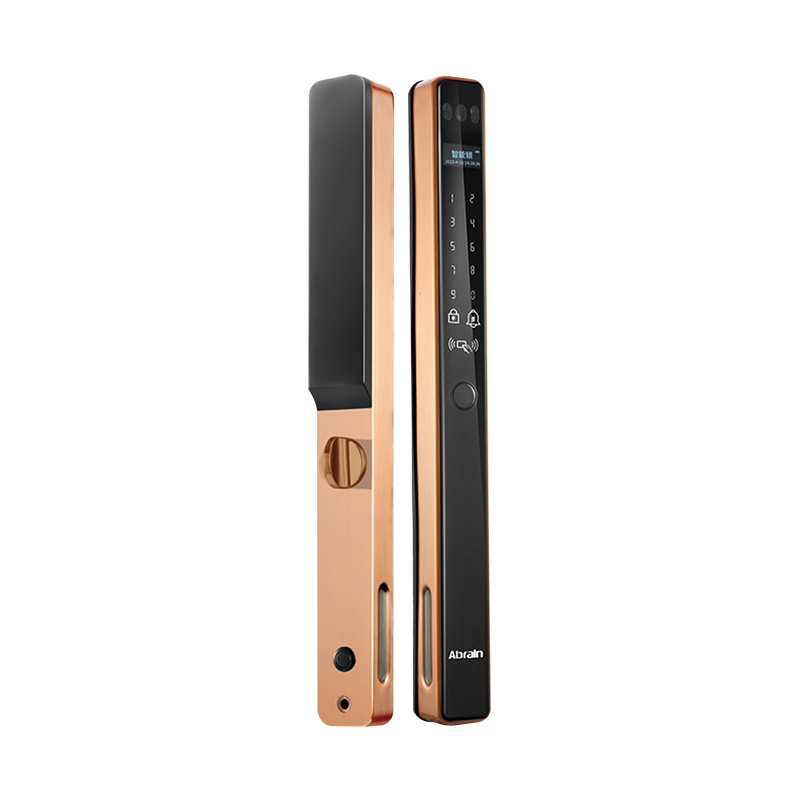
When comparing room door smart locks, request the installation drawing for the exact offered model. A category description may discuss several configurations. It should not be used to infer the spindle or screw arrangement supplied with a particular sample.
Keep thickness separate from the other fit dimensions. Backset, door preparation, lock-body dimensions and handing can all require their own confirmation. Passing a thickness check does not establish that the rest of the door and lock geometry is compatible.
Let the supplier define spindle engagement
Ask which smart lock spindle length applies to the proposed door and lock-body combination. The useful answer should identify the supplied part and the manufacturer's required engagement arrangement. Do not infer engagement from the distance visible between the panels in a photograph.
Some products may have an adjustable or cut-to-length arrangement, while others require a specific supplied part. Confirm the actual design before writing an installation instruction. Do not assume that cutting a spindle is permitted or that adding a locally sourced piece creates an approved extension.
Where more than one spindle or connecting part is used, identify each separately. Keep the correct orientation and installation sequence with the part reference. A bag containing several similar pieces is not self-explanatory to an installer who has never handled that lock model.
Confirm the screw configuration as well
Ask the manufacturer to specify the required through-fixings and any other screws for the intended door construction. Record which parts belong to the supplied lock installation kit and which, if any, must be provided locally to an approved specification.
Length is only one detail. Head seating, thread compatibility and the path through the assembly also matter. Obtain the manufacturer's guidance rather than treating any screw that passes through the door as suitable. Avoid giving a universal tightening value without product-specific support.
| Installation detail |
Supplier confirmation |
What the installer needs |
| Finished door thickness |
Applicable configuration and measurement references |
A clear matching basis |
| Spindle |
Part identity and required engagement |
The correct connecting component |
| Through-fixings |
Type and length for the assembly |
The approved fixing arrangement |
| Panel seating |
Gaskets or supplied interface parts, where applicable |
A complete seating sequence |
| Internal routing |
Cable path and required clearances, if fitted |
A route that follows the instructions |
The table is a coordination checklist. It does not replace the manufacturer's drawing or authorize changes to the lock body, door preparation or electrical connections.
Build a representative installation sample
Use a door sample that represents the actual finished construction at the lock. Fit the specified lock body, panels and supplied kit using the approved instructions. An open bench demonstration of the electronics cannot establish that the connecting parts fit through the intended leaf.
Check whether both panels seat as intended and whether controls and handles operate according to the manufacturer's procedure. Record the kit reference and any permitted adjustment made during installation. If a component must be improvised to complete the sample, treat that as an unresolved issue rather than an accepted production method.
Where the model has an internal cable, review its specified routing before closing the assembly. Keep cable access and space requirements in the sample record. Do not modify, extend or squeeze wiring to compensate for an incorrect mechanical configuration.
Handle multiple door thicknesses deliberately
A project may include more than one door type even when the decorative schedule shows the same lock finish. Group the doors by their actual installation configuration. Ask the supplier whether one approved kit covers them or whether separately identified kits are required.
Use a simple door-to-kit schedule. Connect each door group to the lock model, spindle reference, fixing set and relevant drawing. The schedule should be specific enough for the warehouse to send the right kit to the right installation location.
If the supplier proposes a universal kit, ask how its intended configuration is selected and verified. “Universal” should not leave the installer guessing which parts to trim or discard. Obtain the actual instructions and include them with the project packing information.
Close the order with the approved configuration
- State the finished door construction and thickness references.
- Identify the exact lock and matching lock body.
- Confirm spindle engagement and the permitted fitting method.
- Record screw specifications and kit quantities.
- Approve a representative installation sample.
- Label different door configurations and their installation kits.
Ask the supplier to retain that configuration in the production order. If the spindle, fixing arrangement or panel construction changes, review the affected sample before accepting a substitution.
The best smart lock door thickness check ends with a complete assembly that has been matched and documented. It gives the distributor a clear kit to order and the installer a procedure that can be followed without inventing missing dimensions on site.

 русский
 Español
 عربى



 Email: [email protected]
 Phone: +86-13575699186
 Address: No.135, Wanyu Road, Zhiying Industrial Zone, Yongkang City, Zhejiang Province, China.
